How to Set-Up Your Email in Microsoft Outlook 2007
This tutorial shows you how to set up Outlook 2007 to work with your email account. This tutorial focuses on setting up Outlook 2007, but these settings are similar in earlier versions of Outlook. You can set up previous versions of Outlook by using the settings in this tutorial.
Configure Outlook 2007
- Open Outlook 2007.
- Click the Tools menu, and select Account Settings.

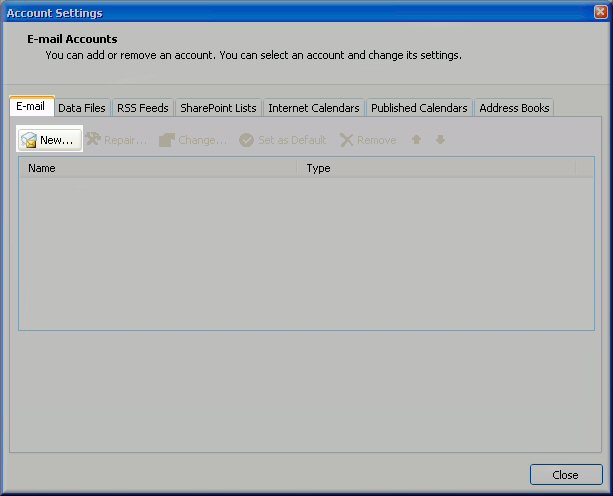
- Click on the Email tab and click on the New... button.
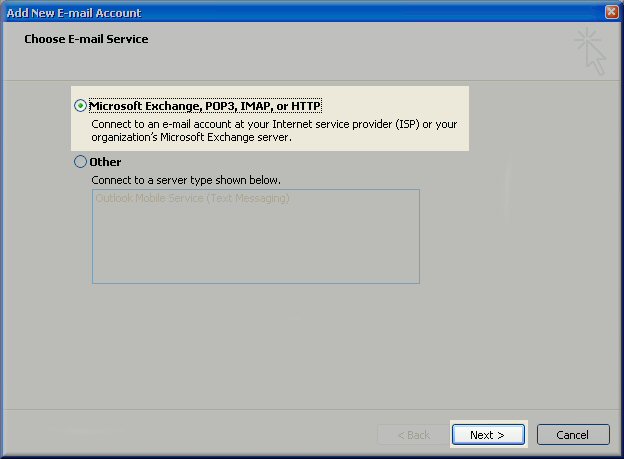
- Next select either Microsoft Exchange, POP3, IMAP or HTTP and click Next.
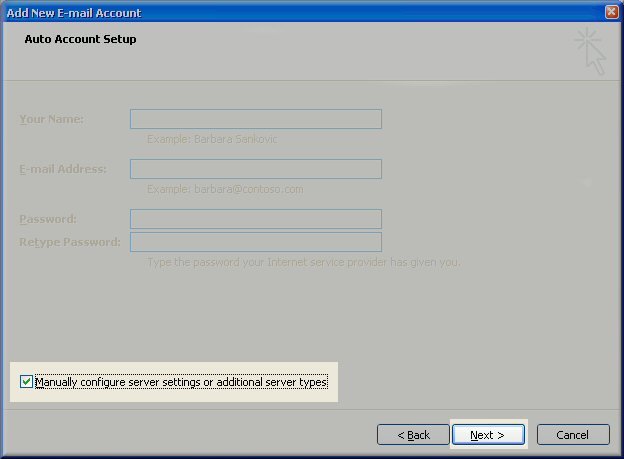
- On the Auto Account Setup window, check the Manually configure server
settings or additional server types and click Next.

1ForAll.net does not support the Auto Account Setup feature on our mail servers, so you should not use the Auto Account Setup feature.
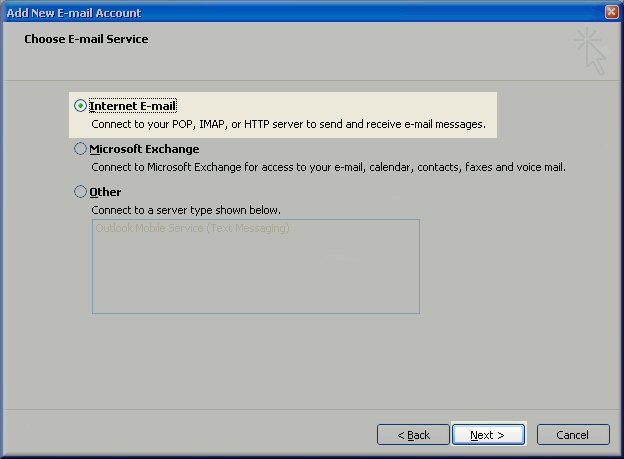
- Select Internet E-mail option and click Next.
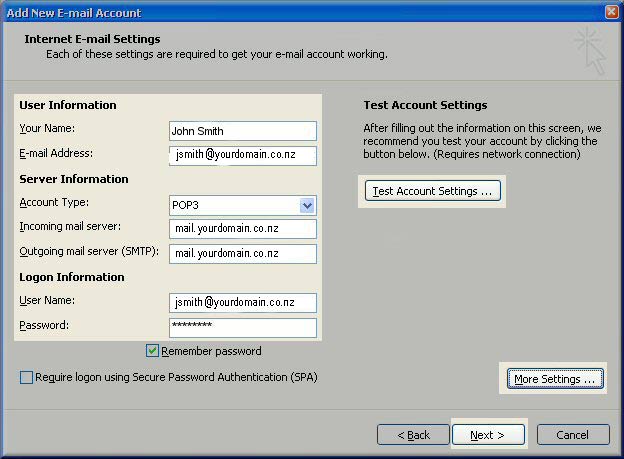
- Fill in the following fields:
- Enter Your Name as you want it to appear.
- Enter your full email address username@yourdomain.co.nz in the Email address field.
- Select POP3 or IMAP.
- Enter mail.yourdomain.co.nz in the "Incoming mail (POP3, IMAP) server:" field.
- Enter mail.yourdomain.co.nz in the "Outgoing mail (SMTP) server:" field.
- Enter your username, username@yourdomain.co.nz in the "Account name:" field.
- Enter your email password in the Password field.

- Perform the following steps:
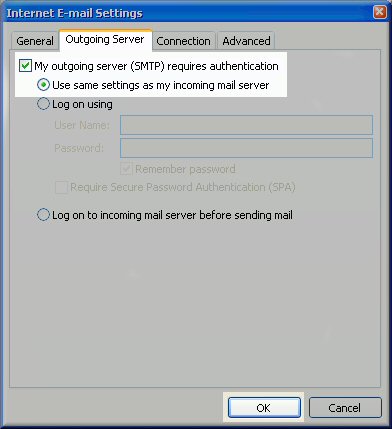
- Click on More Settings...
- Click on the Outgoing Server tab.
- Check My outgoing server (SMTP) Requires Authentication.
- Make sure Use same setting as my incoming mail server is also checked.
- Click on OK.
- Click the Test Account Settings button and you should see all items with
green check marks... Click the Close Button to close the test window. Click
OK to save your settings.
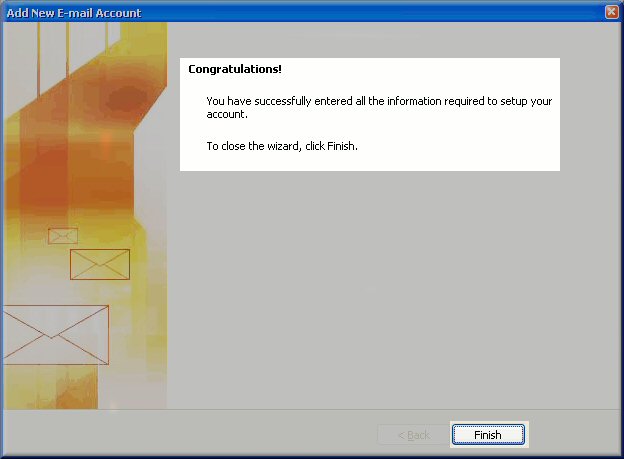
- Congratulations. You have finished the setup of your email account. Click
Finish to close the setup wizard.
If you are still having issues sending email, you can try the following:
- Click the Tools menu, and select E-mail Accounts.
- Highlight the email account and click Change.
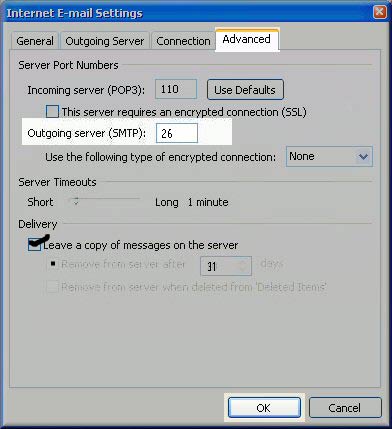
- Click the Advanced tab, and change the SMTP port to the alternate port
of 26 then click on OK.